Rice Paper Basics
by Lydia Fiedler
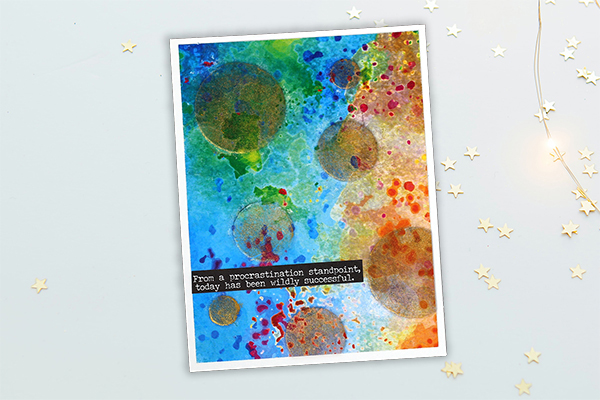
Use rice paper to add texture, pattern and transparency to your projects.
Supplies

- Rice Paper Joggles Rice Paper, Firefly Lights, Black & White Collage #1-3 used here
- Matte Medium (Liquitex used here)
- Foam brushes
- Basic shape dies or embossing folders
- Gold paint(Blick studio gold used here)
- Sentiment strips (Tim Holtz used here)
- Soft spatula or blending stump
Step-by-Step
-
Step 1
Cut rice paper and cardstock to the same size.
-
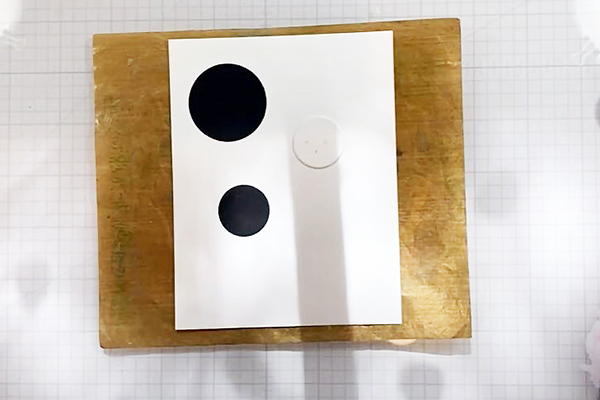
Step 2
Adhere die-cut basic shapes to your card panel. Stack two or three die cuts for added dimension.
-
Step 3
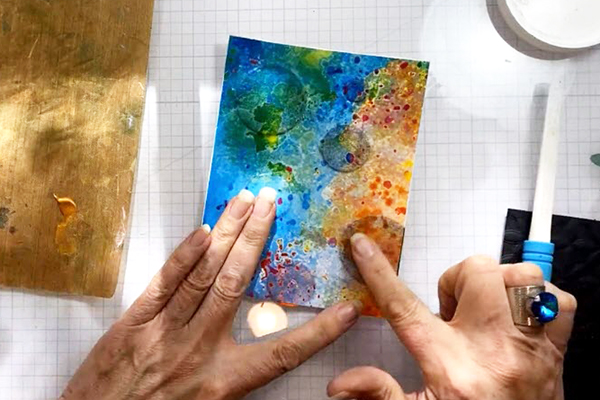
Coat your prepared panel with gel medium and adhere your rice paper.
-
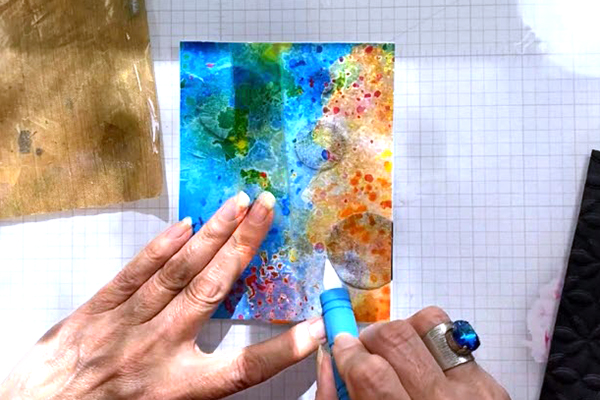
Step 4
While the gel medium is still wet, gently mold the rice paper around the die cuts, using your finger or a soft tool.
-
Step 5
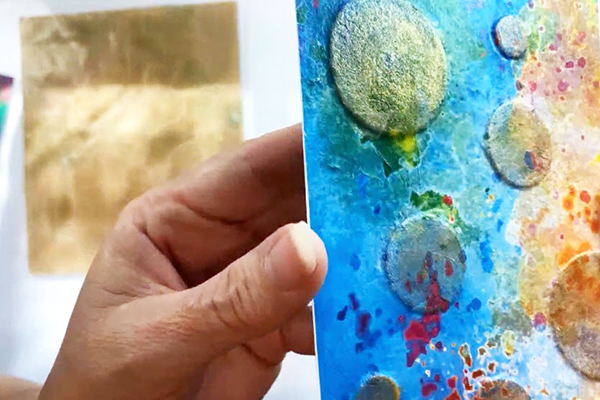
Because of the soft fibers of rice paper, it will mold to any texture without cracking.
-
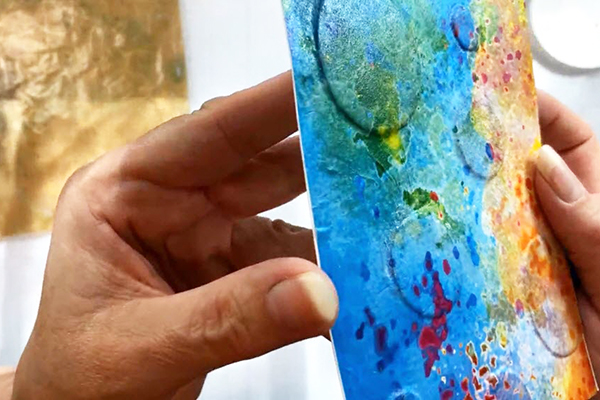
Step 6
If desired, highlight the raised textures with gold paint or a finishing wax.
-
Step 7
Add shimmer to all the raised areas
-
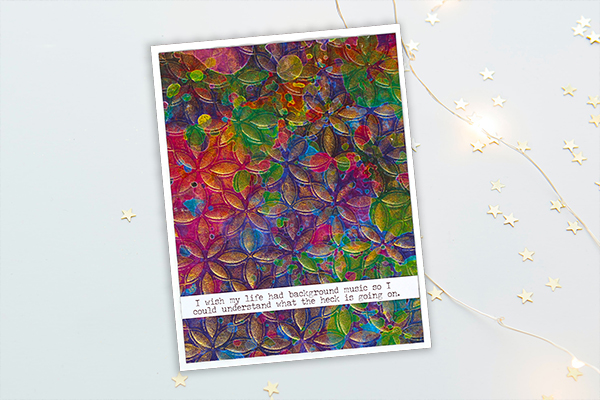
Step 8
Rice paper also molds beautifully to embossed cardstock.
-
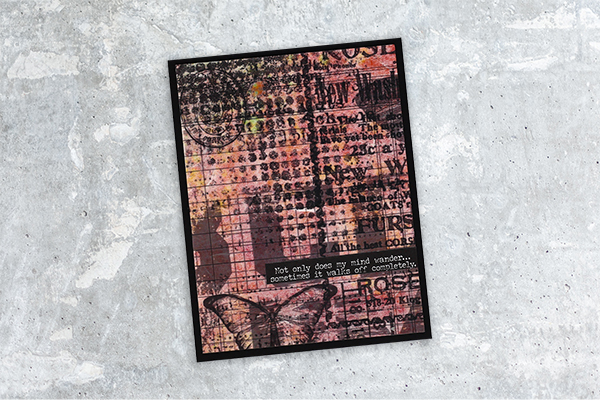
Step 9
Rice paper with transparency can also be layered over other rice paper, stamped images and patterned paper for a layered effect.


Video!
Your Turn
You've seen the tutorial, now you try it! We've got a section of the gallery set aside for Rice Paper Basics. Try this technique, then upload your artwork to the gallery. Show us your creations!
***Please note - Internet Explorer/Edge is not a supported browser, and will not allow you to see the videos. Please use Chrome, Firefox or Safari to view our tutorial videos.

Questions and Comments
We'd love to get your feedback or questions. Leave your comment below.
Page 1 of 1 pages